By Brian · July 7, 2026
How to Hang Christmas Lights on Gutters, Brick, and Rooflines
Hang outdoor Christmas lights without damaging the house: the right clips for gutters, shingles, brick, columns, and windows, plus planning and ladder safety.
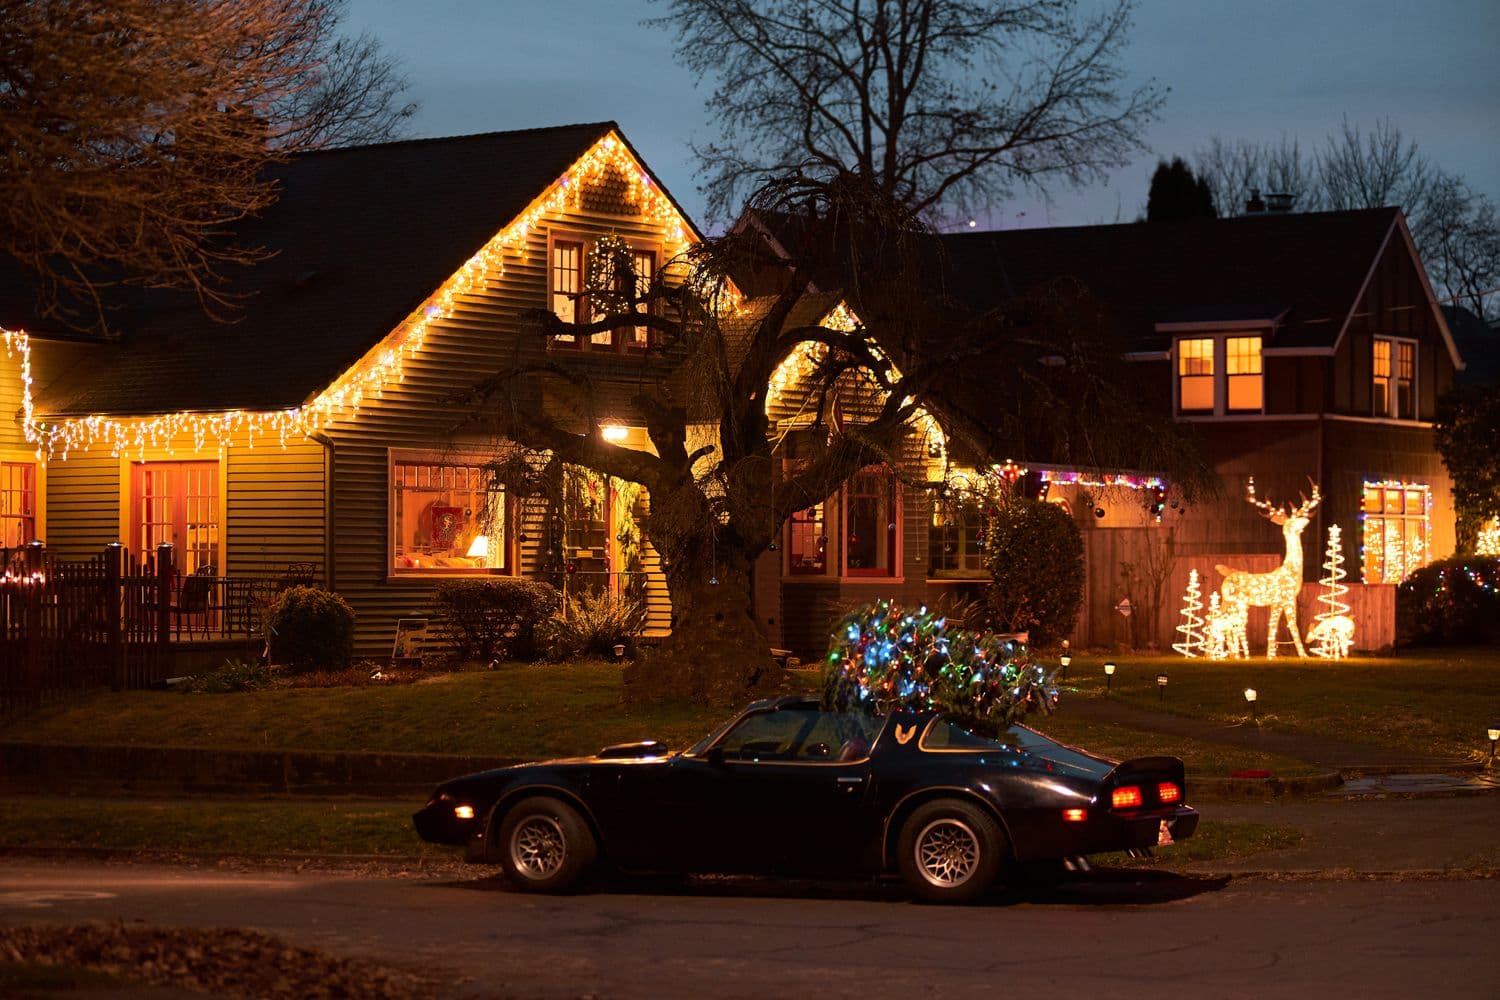
A good outdoor light display looks effortless from the street: a clean line along the roof, the eaves outlined, a wreath glowing on the door. What you don't see is the part that makes or breaks the whole thing, which is how those lights are actually attached. Do it right and the strands sit straight, the bulbs all face the same way, and everything comes down in January without a mark on the house. Do it wrong and you're looking at sagging strands, staple holes in your fascia, and cracked brick that no amount of tinsel will hide.
The secret is not strength or patience. It's using the right clip for each surface, and never reaching for a staple gun or a nail. This guide walks through exactly how to hang lights on every part of a typical house, gutters, shingles, brick, windows, columns, and the roof peak, plus the planning and ladder safety that keep the job quick and the house intact. (If you haven't bought your lights yet, start by working out how many Christmas lights you actually need so you're not stuck three strands short on a cold ladder.) And if your roofline is two or three stories up, hanging them yourself may not be the right call at all; here's how to hire a Christmas light installer without getting burned. The caution isn't hypothetical: nearly half of the roughly 14,900 holiday decorating injuries treated in ERs each season involve falls, per the safety data in our lights study.
Plan the whole thing before you touch a ladder
The people who hang lights fastest are the ones who do the least improvising. Ten minutes of planning saves an hour of climbing up and down.
- Measure first. Walk the house with a tape measure (or a measuring wheel) and add up the linear feet of roofline, eaves, and any trim you want to outline. That number tells you how many strands and how many clips to buy. The Christmas light calculator turns your measurements into an exact count and tells you which bulb type to use, so you order once.
- Find your power source. Locate the outdoor outlet you'll plug into, and plan your whole run to start there and work outward. Lights are directional in the sense that the male plug end has to reach the outlet, so starting at the wrong corner means an extra strand of dead cord dragging back across the house.
- Map the extension cords and timer. Decide where cords will run (along the ground behind shrubs, not across walkways) and where the timer or smart plug lives. A timer at the outlet means you set it once and never think about it again.
- Sketch the sequence. Note which sections connect to which, so you don't discover on the ladder that you've stranded a run with no way back to power.
For house-shape-specific layouts, the guides to two-story colonials and ranch-style homes show how the roof geometry changes where the lights want to go.
Tools and supplies checklist
Gather everything before you climb. Trips back down for a forgotten clip are where the day disappears.
| Item | Why it matters |
|---|---|
| Outdoor-rated light strands | Sealed against weather; the one non-negotiable |
| The right clips for each surface | Gutter, shingle, brick, railing (details below) |
| Outdoor extension cords | Heavier gauge, weather-sealed plugs |
| GFCI outlet or adapter | Cuts power instantly if a short occurs |
| Outdoor timer or smart plug | Set-and-forget on/off |
| A stable ladder | Right height, on firm level ground |
| A light-hanging pole (optional) | Reaches high runs from the ground |
| Work gloves | Grip and warmth on cold clips |
| A tester or spare strand | Find a dead run before it's 20 feet up |
A quick note on the lights themselves: buy outdoor-rated sets, and buy them all in one purchase so the whites match. If you're still choosing between LED and incandescent or warm and cool white, the Christmas lights buying guide breaks down what to buy for each part of the house.
The right clip for each surface
This is the whole game. Every surface on a house wants a different clip, and the right one holds better, looks cleaner, and comes off without a trace.
- Gutter clips (all-in-one clips): a plastic clip with a hook that slides over the front lip of the gutter and a slot that holds a bulb or the strand. The workhorse of roofline lighting. Many are labeled "all-in-one" because the same clip also works on shingles.
- Shingle tabs: a flat plastic tab that slides up under the bottom edge of a shingle and holds the strand along the roof edge. Use these where there's no gutter to clip to.
- Brick clips: clips that wedge into the mortar joint between bricks and grip without any drilling. The answer for masonry, since you should never nail or drill into the face of brick for a temporary display.
- Adhesive hooks: outdoor-rated stick-on hooks for stucco, smooth siding, and painted trim where there's no lip or joint to grab. Clean the surface first and press firmly.
- Railing and column clips: clips that pinch onto a rail or wrap a post, for porch railings, banisters, and columns.
Buy a handful more clips than your footage suggests. You'll want roughly one clip per foot, and a few always crack or wander off.
How to hang lights on gutters
Gutters are the easiest surface to work with, which is why most rooflines get outlined here.
- With the strand unplugged, clip the first all-in-one clip onto the strand (or set a C9 bulb into the clip's socket slot).
- Hook that clip over the front lip of the gutter at your starting corner.
- Work along the gutter, adding a clip every 12 inches, or one per bulb so each C9 sits in its own clip.
- As you go, turn each bulb so it faces the same direction, out and slightly up. Consistent bulb angle is the difference between a crisp line and a messy one from the street.
- Keep the strand snug but not stretched. A little tension keeps it from sagging; too much pulls clips off in the wind.
Do the whole run before you plug in, then step back to the curb and check the line before you call it done.
How to hang lights on shingles and the roofline
Where there's no gutter, shingle tabs handle the roof edge.
- Slide a shingle tab up under the bottom edge of a shingle so the flat part grips and the clip end sticks out along the roofline.
- Set the strand or bulb into the clip, same as on a gutter.
- Space tabs every 12 inches, following the roof edge.
- Never lift or pry shingles hard, and never staple or nail through them. Shingles are your roof's waterproofing; a puncture is a future leak. The tab is designed to slip in without force.
For a bare-edge roofline with no gutter and no easy shingle access, adhesive hooks along the fascia board are a fallback, though they hold less than a proper tab.
How to hang lights on brick (without drilling)
Brick is where most people go wrong, because the instinct is to grab a masonry nail. Resist it. Drilling or hammering into the face of a brick can crack it, and the hole is permanent. Nailing into the mortar is slightly less destructive but still leaves damage and weakens the joint over time.
The right way uses the mortar joint without harming it:
- Brick clips are made to wedge into the mortar line between courses of brick. They grip by tension, hold a strand along the joint, and pull out clean in January. No tools, no holes.
- Outdoor adhesive hooks work on smooth brick and on stucco. Wipe the spot clean and dry, press the hook firmly, and give the adhesive the full cure time on the package before you hang anything. On rough or dusty brick they hold poorly, so test one hook with a gentle tug before you run the whole line.
The same logic covers stucco and hard siding: adhesive hooks for stucco and smooth surfaces, and for lap siding you can often use small clips that hook over the bottom lip of a siding course, no fasteners needed.
Around windows and doors
Outlining windows and framing the front door is where a display goes from "lights on the roof" to "the whole house is dressed."
- On wood or painted trim, use small adhesive clips or hooks at the corners and every foot or so along each side. Press them into the flat of the trim, not the caulk line.
- On vinyl or metal window frames, use clips designed to hook over the frame edge, or adhesive hooks rated for smooth surfaces.
- Run the strand as a clean rectangle, tucking the corners tight so the outline reads as a frame, not a loop.
- For the door, a lit garland framing the opening usually does more than a bare strand. Anchor it at the top corners with adhesive hooks and let it swag down each side.
Wrapping columns and railings
Porch columns and railings add depth at eye level, where people actually walk past.
- Columns: spiral the strand up the post at an even spacing, roughly 3 to 4 inches between passes for a full look, wider if you want it airy. Use column clips or a few adhesive hooks to keep the spiral from sliding down. Start at the bottom and work up so gravity helps you hold the tension.
- Railings and banisters: weave the strand through the balusters, or clip it along the top rail with railing clips. A steady in-and-out weave reads better than a strand just laid on top.
- For both, keep the spacing consistent across every post and section. The eye forgives density; it does not forgive one column wrapped tight and the next one loose.
Outlining the roof peak
The peak (the gable and the ridge line above it) is what gives a display its shape against the sky. It's also the highest and trickiest part, so plan it carefully.
- Follow the same clip logic: gutter clips if the gable has a gutter, shingle tabs along the ridge and rake edges if it doesn't.
- Run the lights up one side of the gable, across or along the ridge, and back down the other so the peak is outlined as a clean triangle.
- This is the section most worth doing with a light-hanging pole from the ground, or skipping entirely if the height is beyond your comfort. A peak that's slightly less lit is far better than a fall.
What not to do
A few mistakes cause most of the damage and most of the frustration:
- Don't staple through the wires. A staple gun through a light strand is the classic way to nick the insulation, short the set, and create a shock or fire risk. Clips exist precisely so you never have to.
- Don't nail or drill into brick. It cracks the brick or weakens the mortar, and the hole is forever. Brick clips solve this.
- Don't use indoor lights outside. Indoor-only sets aren't sealed against moisture. Wet, they can trip a breaker or start a fire. Read the tag.
- Don't overload the circuit. Connecting too many strands end to end trips the breaker at best and overheats a cord at worst. Incandescent mini lights usually cap around 3 connected strands; LEDs allow far more. The strand's tag prints the maximum, and don't exceed about 1,440 watts on a standard 15-amp circuit.
- Don't hang in the wet or the dark. Work in dry daylight. Wet surfaces are slick on a ladder, cold hands fumble clips, and you can't judge the line in the dark anyway.
Power it safely
Getting the lights up is half the job. Powering them without tripping a breaker (or worse) is the other half.
- Plug everything into a GFCI outlet. If your outdoor outlet isn't GFCI-protected, a GFCI adapter is a few dollars and cuts power instantly if it senses a short. This is the single most important electrical safeguard for an outdoor display.
- Use outdoor-rated extension cords, not the light indoor ones. Keep the connections up off the ground and out of puddles; a small plastic cord-connector box or even a zip-lock bag keeps rain out of the plug junction.
- Put the whole display on an outdoor timer or smart plug so it turns on at dusk and off at bedtime on its own.
A word on ladders and heights
Falls from ladders are the most common serious holiday-decorating injury, every single year. None of this is worth an emergency-room trip.
- Set the ladder on firm, level ground, and use one tall enough that you're not standing on the top rungs or stretching sideways.
- Keep your hips between the rails and move the ladder rather than leaning out to reach "just one more" clip.
- Have someone foot the ladder for the high runs, and never work a ladder alone on ice or in wind.
- Reach what you can from the ground with a light-hanging pole, which handles a surprising amount of a roofline without climbing at all.
And know your line. If a section of roofline is genuinely high, the pitch is steep, or you feel unsteady for even a moment, that's the section to hand to a professional installer. They bring the ladders, the harnesses, and the insurance, and they take it all down in January too. Paying for the scary 20% of the job is a bargain against the alternative.
Put it together
The whole method comes down to a short list: measure and plan first, start at the outlet, use the right clip for each surface (gutter clips and shingle tabs for the roof, brick clips for masonry, adhesive hooks for stucco and trim, railing and column clips for the rest), never staple or nail, keep it outdoor-rated and on a GFCI, and work in dry daylight from a stable ladder. Get those right and the display goes up faster, looks sharper from the street, and comes down in January leaving your house exactly as you found it.
If you haven't nailed down your counts yet, run your roofline and trees through the Christmas light calculator before you buy, so the only thing left to do is hang them. Once they are up, Rate My Christmas Lights scores a photo of the result out of 100 and tells you which layer is letting the rest down.
Share this guide
Frequently asked questions
How do you hang Christmas lights without nails or damage?
How do you hang Christmas lights on gutters?
How do you hang Christmas lights on brick without drilling?
What kind of clips do I need to hang Christmas lights?
Can you use indoor Christmas lights outside?
When should I call a professional to hang Christmas lights?
Keep reading
Christmas Lights Not Working? Find the Fault in Ten Minutes
The four ways a Christmas light string fails, how to tell them apart in about a minute, and the fixes that actually work. Includes the fuse door most people never open, why half a string goes dark, and the point where a strand is not worth saving.
How to Hire a Christmas Light Installer (7 Questions to Ask First)
A homeowner's guide to hiring a Christmas light installer: when to book, the seven questions that separate a good pro from a bad one, red flags to walk away from, and how quotes really work.
Christmas Light Ideas for Ranch-Style Homes: The Complete Guide
How to light a ranch home for Christmas: the layering system, the right bulb types, the exact color temperature, and the five-layer plan that flatters the horizontal silhouette instead of fighting it.
Prefer pen & paper?
The Christmas Planner
A 25-page printable kit covering budget, gifts, hosting, and decor, built on the same planning logic as this tool. Print it once, keep it in a binder, and reuse it every year.
Or grab 3 pages free first.
Decor that suits the home you have.
Seasonal decorating tips and the occasional new tool, straight to your inbox. One list, no spam.